Business Architecture for Solopreneurs
If your business only works when you push harder, it's poorly designed.
I help solopreneurs and online coaches design anti-hustle businesses that grow sustainably — through calm systems, clear architecture, and intelligent automation.
Most solopreneurs don't need more effort.
They need better architecture.
Post more. Launch faster. Run ads. Scale quickly.
Scattered tools. Algorithm-depdendent marketing.
Backend chaos. Constant pressure.
Motion is not design. Urgency is not strategy.
That isn't growth. It's friction.
There's a better way to build.
The Syntropy Flow Method
A philosophy of business design built on three non-negotiables
Containment
Centralize your systems before you expand them.
Comprehension
Understand your infrastructure instead of outsourcing your agency.
Sovereignty
Build a business that protects your energy and autonomy.
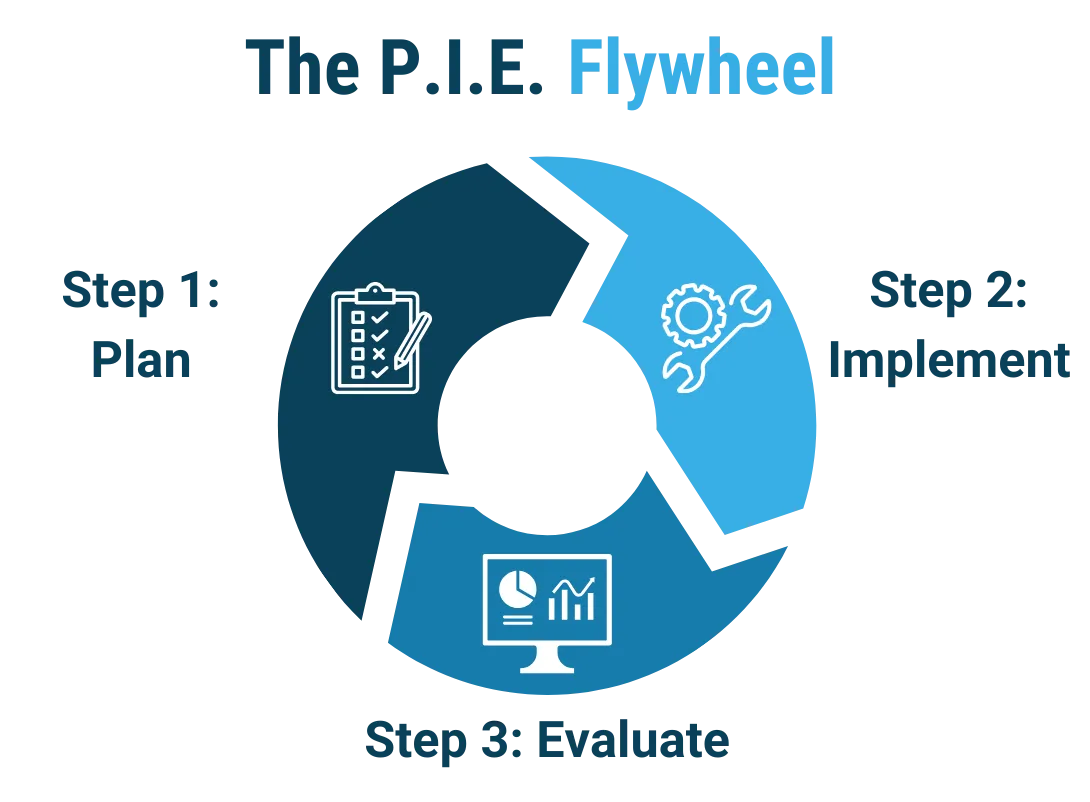
Powered by a simple flywheel:
Plan → Implement → Evaluate
No urgency. No burnout. No "done."
The system evolves without breaking the human.
The System
Syntropy Flow
A structured business operating system for solopreneurs and online coaches.
Inside Syntropy, you enter a designed ecosystem where you:
Centralize your CRM, email, and automation
Implement guided playbooks
Refine your systems through structured office hours
Build discoverable, evergreen marketing assets
Develop confidence in your backend instead of depending on someone else
You can buy tools.
Or you can enter a system designed to reduce friction and restore agency.
Syntropy is the system.
Who This Is For
This is for you
Solopreneurs who want structure without pressure.
Online coaches who value sustainability over speed.
Builders who want to understand their systems.
Entrepreneurs who prefer evergreen discoverability.
Not for
Fast-scale-at-any-cost operators.
Those seeking done-for-you backend management.
Anyone looking for guaranteed growth without participation.
Sovereignty requires engagement.
There are two ways to engage here.
Build With Structure
If you're ready to implement an anti-hustle operating system inside your business.
Think Deeper
If you want to understand the philosophy behind sustainable business design first.
Design your business to support
your life — not consume it.
© 2026 Trailblazin Tech. All rights reserved.